
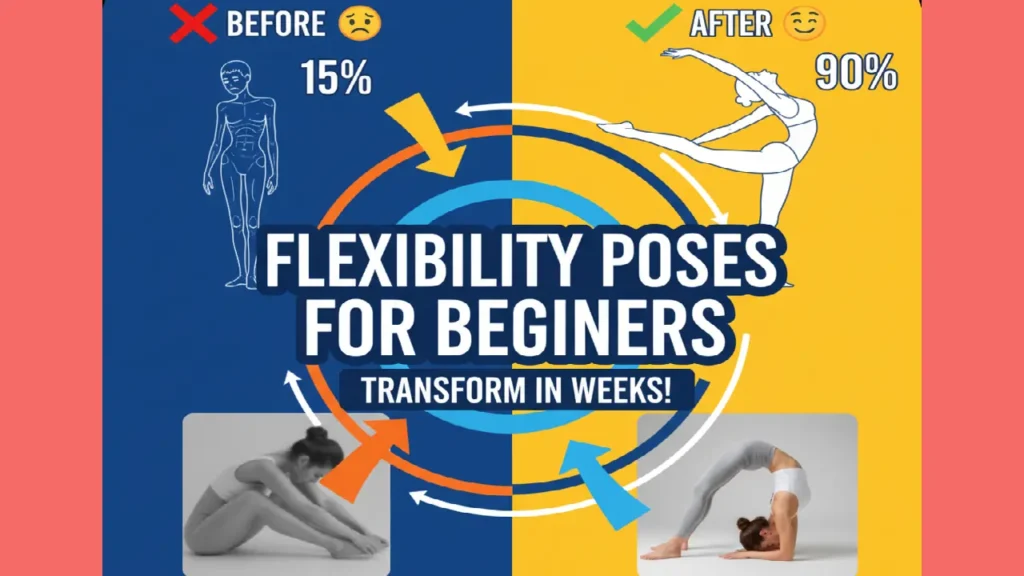
lexibility poses for beginners
I did not view myself as a flexible person. I was only dreaming of being able to touch my toes and at the end of a hard day at my desk I would feel as stiff as, well, my joints were practically creaking. As most individuals, I believed that one was born flexible or not.
Then I found yoga, and it all changed. I began with a few minutes a day and concentrated on straightforward poses, and was astonished at the speed at which my body reacted. I would like to tell you about that journey now.
The guide is one that can be used by anyone who is too stiff to begin yoga. I will tell you the most important poses which helped me open my flexibility in a simple, easy manner. It is important to remember that it is better to be consistent than perfect. Let’s get started.
The reason Yoga is the Right Tool to Enhance Flexibility.
Prior to my discovery of yoga, I believed that stretching is about pushing oneself into a specific position and maintaining it painfully. I was wrong. Yoga made me understand that flexibility means encouraging your muscles to stretch, a combination of motion and breathing, and listening to your body.
Yoga does not work towards aggressive stretching as opposed to other forms, but rather the movements are slow, controlled, and poses are taken in a gentle manner. It is a safe way of enhancing the amount of motion of your joints. What is beautiful about yoga is that it does not only make a person temporarily flexible. Rather, it can make you feel freer in your day-to-day life bending down to tie your laces or pulling down a top shelf.
Probably the greatest advantage I have gained is the psychological relaxation that the physical practice brings. My morning exercise only takes me 15 minutes of yoga, which makes me feel focused and positive, which provides a soothing mood throughout the whole day. It is an effective stress-reducing tool, which can be manifested physically as tension in our muscles usually does.
3 Important Positions of Flexibility I Commenced With.
As a beginner, it can be overwhelming with the number of yoga poses. I certainly felt that way. Therefore I concentrated on learning some of the basic poses, which have the greatest payoff. These three will have your whole body being stretched all the way to your shoulders to your calves.
Downward-Facing Dog
The pose that I considered myself a real yogi, though I was a beginner, was Downward-Facing Dog. It is a refreshing posture that extends your back all the way and fortifies your arms.
How I Do It:
I come into it on my hands and knees, having my wrists under my shoulders and my knees under my hips.
I pull my toes under and pull my hips up and back and just bend my legs as straight as I can.
I squeeze my hands and attempt to spread my weight between my hands. I hope to make a downward V shape of my body.
I maintain a slack neck, and my head is heavy.
In case my hamstrings are tight (they tend to be!), I bend my knees a little bit. It is all about maintaining my spine straight rather than straight legs.
Novice Trick: There is nothing to fear in case your heels do not make contact with the floor! Mine definitely did not initially. I stretch my feet by crouching on one knee and then on the other, to provide each calf with a pleasant, energetic workout .
Forward Fold
The Forward Fold is a marvellously modest pose. It made me learn that I should expect nothing. Sometimes my hands touch the floor with no difficulty. On other days they are hanging miles above it. And that’s perfectly okay.
How I Do It:
I am in Mountain Pose, with my feet hip-width.
When I breathe out a breath I hinge at the hips and not at the waist, and bend forward.
I permit my head to swing heavily and drop the back of my neck.
My knees can be bent immensely, such that my lower back is not strained. The position ought to be a release rather than a struggle.
Novice Advice: A yoga block or a pile of books under the hands are often utilized by me. This easy trick pushes the floor to a position that is more near to me and enables my spine to remain long rather than rounded.
Low Lunge (Anjaneyasana)
This will be a game changer in case you are spending a lot of time sitting. I could feel it in my hip flexors–the muscles on the front of my hips which are so tight when I sit at the desk.
How I Do It:
I step my right foot forward between my hands (Downward-Facing Dog).
I bring my left knee to the floor and my back toes in the direction of the wall behind me.
I make sure that my front knee is over my ankle.
In order to achieve a strong stretch, I hold on to my front thigh or just raise my hands to the sky and pull my hipbones towards me.
Novice Advice: To make the stretch of the quad even more intense, I occasionally bend the toes of my back foot inwards and push the back heel of my foot against my buttock. When I experience some pinching in the knee of the back, then I put a folded towel or cushion on that knee.
How to Make a Habit and Stick to It.
It is one thing to know the poses but another thing to make them a regular part of your life. Here’s what worked for me.
To start with, it is all about consistency. You do not have to take a 90 minutes a day course. I began with a promise of no more than 15 minutes a day in the morning. This became something that was possible and before long, it was part of my day that I could not negotiate like brushing my teeth.
Second, be a listening person and not an ego. Yoga does not aim at getting a perfect-looking pose but rather to be more conscious and in touch with your body. If you feel sharp pain, stop. You must feel a light aching not pain. According to the professionals at Mayo Clinic, a slight pull during a stretch is all that is necessary although pain is an indicator that you have overdone it.
Finally, breathe. It may seem like an easy one, however, this is the strongest weapon. Slowly and deeply breathing through my nose is what I pay attention to in every pose. This soothes my nervous system and induces my muscles to stretch.