
Backbend Yoga Poses
I would tell you that I was scared of backbend yoga poses all along. It was unnatural to think of bending back, scary. I would have had back pain down to my lower back most of the time, and the thought of placing even more stress in the lower back appeared to be a painkiller. However, there was something of being somehow shut out, physically and psychologically, which compelled me to at least give it a chance.
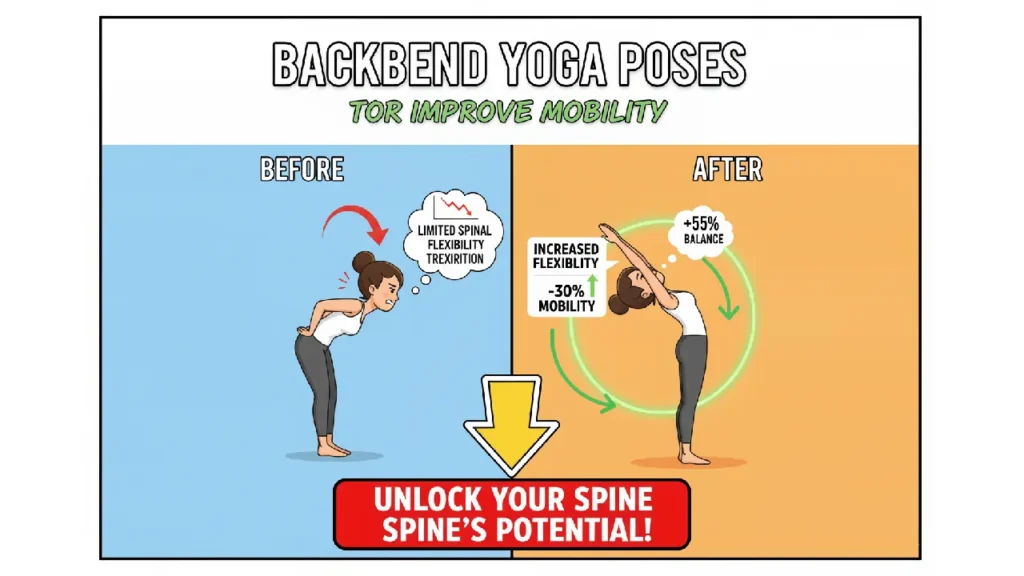
It was not pain I found and it was deep release. I came to know that yoga poses of backbend are not so much related to the flexibility but the freedom. They are an effective antidote to the modern bent-over lifestyle and they fight the consequences of bending over desks and glancing at phones. I would like to show you the amazing advantages and the most important poses that helped me to change my practice and even my mood in this guide. Let’s open up together.
Why Your Body Is Missing Backbend Yoga Poses.
Think about your average day. You are behind a steering wheel hunching, you sit in a computer and squint at it, you are checking your phone. This anterior bend is our neutral posture, and it is shrinking our anterior body muscles, flattening our shoulders, and squashing our spine.
Backbend yoga poses come in this place as a counter-movement, as a heroic one. They are the yang to our inactive yin. When I began to include them I was not merely stretching, but literally undoing the physical harm of my everyday routine. These poses:
Open Your Chest and Shoulders: It stretches the pectoral muscles and makes the shoulders to roll back which improves the posture immediately.
Strengthen Your Back: Backbends do not come easy, you have to take the back, glute, and leg muscles seriously to hold up the spine.
Facilitate Spinal Mobility: They aid in the well-being of the intervertebral discs which demand activity to absorb nourishment.
Shake up Your Energy and Mood: This can be achieved by opening the front of the body physically to make an individual feel vulnerable and soon evolve to a sense of empowerment and exhilaration. That is why some of the backbends are named after the uplifting things, such as, the Cobra, the Camel, and the Wheel.
The 7 Backbend yoga poses you need to transform your yoga practice.
And a few words of safety, before we get any deeper, a few words: At all times, listen to your body. Move slowly and with control. In case you have some prior injuries to your back or neck, you should consult a healthcare professional or an experienced yoga teacher on these poses. It is to experience an enjoyable stretch, not excruciating pain.
Cobra Pose (Bhujangasana) – The Mellow Opener.
It was my first backbend and it is the best place to start.
How it is done: Lie on your stomach with your legs straight out with the toes flat on the mat. Position yourself with your hands being placed directly below your shoulders with your elbows being drawn close to your body. Getting up, take only the power of your back muscles, inhale, and lift your chest out of the floor. Hold your elbows partially bent and the shoulders loose to your ears.
My “Aha!” Moment: I got to know to engage less arm strength and more back involvement. This small movement rendered the pose stable and strong, as opposed to tense.
Novice Secret: Never push up as far as to squeeze your lower back. A slight lift is very powerful.
Sphinx Pose (Salamba Bhujangasana) – The Friend Foundation.
Imagine Sphinx as even more gentle cousin of Cobra. It is very wonderful in the spinal articulation.
The method: get on your hands and knees on your forearms. Your forearms must be running parallel to one another, and your shoulders with the elbows right under them. Gently push your forearms and palms on the mat lifting your chest and upper torso. Keep your neck long.
My “Aha!” Moment: I learned during this pose what having a neutral pelvis would be like during a backbend, and it would not be that painful pinch in my lower back.
Novice Hint: Pay attention to extending your tailbone to your heels to secure your lumbar spine.
Bridge Pose (Setu Bandha Sarvangasana)- The Powerhouse.
And Bridge Pose is where you begin to really have some power. It is an excellent combination of power and elasticity.
How it should be done: Lie back with your knees bent and feet hip-width apart and close to your glutes. Place your arms by your sides. Bang your feet and push your hips so that they are inclined to the ceiling. Put your hands together at the back and roll your shoulders below you.
My “Aha!” Moment: Happens in the legs and the glutes. By actively working on these muscles, I felt the support and safety of my lower back and could open up my chest deeper and more satisfied.
Expert Tip: Have a block in-between your thighs and squeeze it to start the right muscles.
Camel Pose (Ustrasana), The Heart Opener.
Camel Pose is an emotional pose to myself and many others. It is a stretch that is deep and it is in the front body and this makes it feel so vulnerable and so liberating.
How to do it: Kneel on the floor with an interval of hips. Lean on your hands and knees on the lower back. Breath in and raise your chest and then gradually start to feel your heels, one hand at a time. Hold your hips in line with your knees.
My “Aha!” Moment: Do not jump back with your head! A neutral position of the neck or even tucking of the chin will help avoid straining the neck and concentrating on the thoracic spine (mid-back).
Novice Hint: Use tuck-under to make the access to your heels even shorter and more convenient.
Upward Facing Dog (Urdhva Mukha Svanasana) The Energizer.
It is one of the foundations of the Sun Salutation sequence and an excellent whole body strengthener.
How to do it: Starting in a plank or Chaturanga pose, you are going to mindlessly drop your hips, extending your arms straight as you draw your torso and legs several inches off the mat. You should have only your feet at the top, and your hands at the top. Pull your shoulders in and look straight or in some cases, upwards.
My “Aha!” Second: It is not another backbend. It involves extreme body involvement of the arms, legs and core to support the body so as to experience a sense of strength and buoyancy.
Advice: This can be a lot. If it is painful, do a variation of a Baby Cobra with your thighs on the ground until you develop the required strength.
Full Expression: Wheel Pose (Urdhva Dhanurasana).
Wheel is the ideal advanced backbend, and it seemed like a far-away dream at the beginning. It entails the freeing of shoulders, chest, hips and muscles of the legs and arms.
How to perform: lie on your back but bend the knees and bring the feet close to the buttocks. Put your hands behind your ears and pointing your fingers towards your shoulders. Flex your hands and feet and raise your hips and your head out of the floor. Keep your arms as straight as you can.
My “Aha!” Moment: It is not the flexibility of the spine that makes the secret, but the pushing the floor away with great force. The trick to a safe and stable Wheel is driving through the legs lifting the hips high.
Novice Advice: Do Bridge Pose regularly in order to develop the necessary strength. Another practice that can be performed with a block supporting your sacrum is also possible.
Bow Pose (Dhanurasana) – The Deep Stretch.
Bow Pose provided is a singular and strenuous longing to the whole front body, including the ankles and up to the throat.
How to: Lie on your belly, bend your knees and then reach back and hold the outer edges of your ankles. On the breath in, move your feet into your hands as you raise your thighs and breast up out of the ground.
My “Aha!” Moment: It is the lift that is made not only by pulling with your arms but also by kicking. This vigorous action produces the effect of a rocking which can be most soothing to the anterior part of the body.
Training Trick: When it is too hard to use both ankles; do one side at a time.
Backbending Weaving into Your Life.
These are not all the poses you have to do on a daily basis. I usually choose one or two and these are the ones I concentrate on, and I will always do a good warm-up with Cat-Cow poses and easy core exercises. It is important to remember that you need to follow your backbends with a small forward bends such as Child Pose or a seated twist to balance your spine.
The experience with backbend yoga poses has helped me understand that our bodies can do amazing things when we view them with patience and curiosity. It does not matter whether you have a perfect Wheel Pose, but the sensation of openness, energy, and boldness that comes as a result of actually reversing your world upside down. then come on, and take a deep breath, and have a go at one of these poses. Your spine will thank you.
Frequently Asked Questions (FAQs).
I have a bad back. Can I still do backbends?
It depends on the issue. At all times seek the advice of a doctor or a physical therapist. To a great number, even gentle backbends such as Sphinx or supported Bridge may in fact relieve aches created by tight muscles and bad posture by making the supportive muscles even stronger. Nevertheless, they are destructive to some conditions such as stenosis of the spine.
How come I feel emotional when I do a backbend or after doing a backbend?
You’re not alone! A large portion of the emotional and physical tension is held in the front of the body. Cracking the chest and heart area physically can burst out this stored energy and this brings the feeling of vulnerability or even relief or even happiness. It is a healthy and normal aspect of the process.
What is the frequency of practice of backbend yoga poses?
Actuality is even more significant than length. The most common way in which to practice is with 5-10 minutes of a few gentle backbends a few times a week, 3-4 times a week, however, is far more advantageous than a long, hard session once a month. Pay attention to your body and have rest days.
What is the best thing to keep in mind in order to be safe?
Warm up! Do not spring into a deep backbend when the body is cold. Warm up with a few Cat-Cow and twists and core activations. And above all, use your muscles, your buttock, legs, and stomach to hold your spine up, and not just to plunge into the pliability of your lower back.