
Bridge Pose transformed my back health
I had been believing that having a stiff, achy back in my life was normal. Spending hours on the desk made me hunched and compressed. Later, I learned Bridge Pose, or Setu Bandha Sarvangasana. This was a backbend which I made my secret weapon. It did not only relieve me of the pain, but also gave a new dose of energy and posture to my whole body.
In this article, I would like to comment on my experience with the Bridge Pose. I will also explain specifically how I incorporated it into my life, the amazing returns I registered, and a foolproof manual so you can be able to do the same. I want to demonstrate this to you, that this available posture is not simply an exercise, but an opening of a door, to a life more alive, more erect, more painless in you.
The reason behind falling in love with the Bridge Pose: Beyond a Backbend.
Back when I was beginning to practice the Bridge Pose I believed that I only had to lift my hips. I was wrong. It is an act of full body involvement that makes muscles that I never knew to exist come alive. My own gains have said to me that it is something I cannot do without.
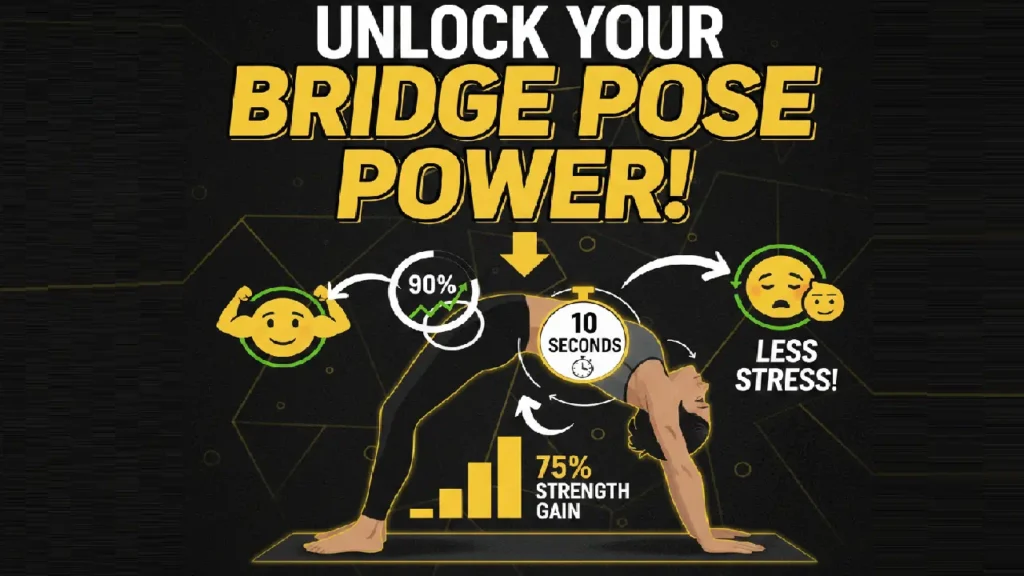
It alleviated my Backache: The Bridge Pose helped my lumbar spine in unequivocal support by tightening my glutes and hamstrings. It works by stretching the front side of my body and tightening the back which then gives the body a perfect balance which compensates the sitting habits.
My Posture Changed: My back gained more strength and I automatically began to stand taller. The pose opens my chest and shoulders drawing them back and reversing that forward slouch that I had become accustomed to.
I Found a Calm Mind: To sustain the pose, I have to concentrate on my breath. This conscious activity turned into some kind of moving meditation on my part, as it helped me to melt the stress after a long day and relax my nervous system.
My Vitality Soared: This is a mild backbend that surprisingly is invigorating. Billions of people would be exhausted after a working day, so now I prefer to use the Bridge Pose as a way to produce some energy, as it gives an impulse to my thyroid gland and enhances the flow of blood.
My Step-by-step Instructional Guide to an Ideal Bridge Pose.
The steps outlined here are used by me in the same way and you are following the steps in this manner to make a safe and effective practice. The most important one is to listen to your body, remember.
Step 1: The Foundation
I begin with the position of lying on my back on the comfortable mat of yoga. My knees are bent and I stand with my feet flat to the floor, hips wide apart. I have my heels tight so that I can barely touch them with my fingertips. I make sure that my ankles are kept straight beneath my knees and not moving forward or backwards. My hands are lying flat beside my body with palms down.
Step 2: The Liftoff
When breathing I lift my feet and arms downwards. I slightly start to lift off my hips on the floor, starting with the tailbone. I can imagine myself peeling away my spine of the mat, one vertebra at a time. I keep on lifting until my thighs are parallel to the floor. I ensure that my knees remain hip-width and do not protrude out.
Step 3: Discovering the Full Expression.
I move my shoulders slightly below my torso up at the top. I am able to hold my hands over the mat so that my arms are straightened as far as I am able so that my chest is open even more. I retain my chin slightly bent to have a long neck. I do not inhale beyond 5-8 deep, full, breaths, and I sense the work in my glutes and hamstrings.
Step 4: The Release
To come down, I exhale slowly. I would loosen my hands in case I have them clenched. This I perform in the opposite direction, by slowly bending my spine back to the mat, beginning my upper back all the way to my tailbone. I take a time to wrap my knees in my chest and have the relief in my lower back.
Leveling Up: My Favorite Bridge Variations.
As soon as I learned the stance of the basic Bridge Pose, I started to experiment with it to make my practice interesting and put my body aside to challenge it.
Single-Leg Bridge Pose: I straighten one leg up to the ceiling, starting with the lifted position. This puts extreme strain on my supporting glute and puts my core stability to the test. After a few inhalations I change legs.
Bridge Pose with a Block: Positioning a yoga block in between my thighs and working actively on it helps my inner thighs and makes the yoga pose even more efficient in my whole posteriolar chain.
Heart-Opening Hold: During the raised posture, I move the weight slightly to my left shoulder and move my right hand up to my feet and vice versa. This gives me a more intense pull over my chest and shoulders.
Most of the Problems I Went through (So That You Do Not Have To).
I did not start out as a perfect person. The following are the pitfalls I have come across and the way I have rectified myself.
Allowing My Knees To Splay Out: This decreases the glute engagement. The fix that I used was to make myself continue with my knees aligned with my ankles and hips during the entire movement.
Overarching My Neck: I used to twist my neck backwards. It is now made long and even, and I look out in a straight line with the ceiling.
Stressing Too Much, Too Soon: I have now come to understand that it is not the height that matters, but integrity. Control in lifting and proper alignment is much more significant than the height of my hips.
My Personal Precautions
Although the Bridge Pose is not dangerous in most cases, I would always take care. Avoid this pose before attempting it, unless you are sure that you will not injure your neck or shoulder. I also do not do it during my menstrual period as some of the traditions propose that it may be disruptive to inversion.
My Last Reflection: Your Bridge to a Better You.
The inclusion of the Bridge Pose in my life was a little adjustment that would have an enormous effect. It provided me with the means to be in charge of my physical health. It is a posture of power, openness, and strength- a literal bridge to the healthier and more aligned body. I would recommend that you should have a taste. Your spine will thank you.