
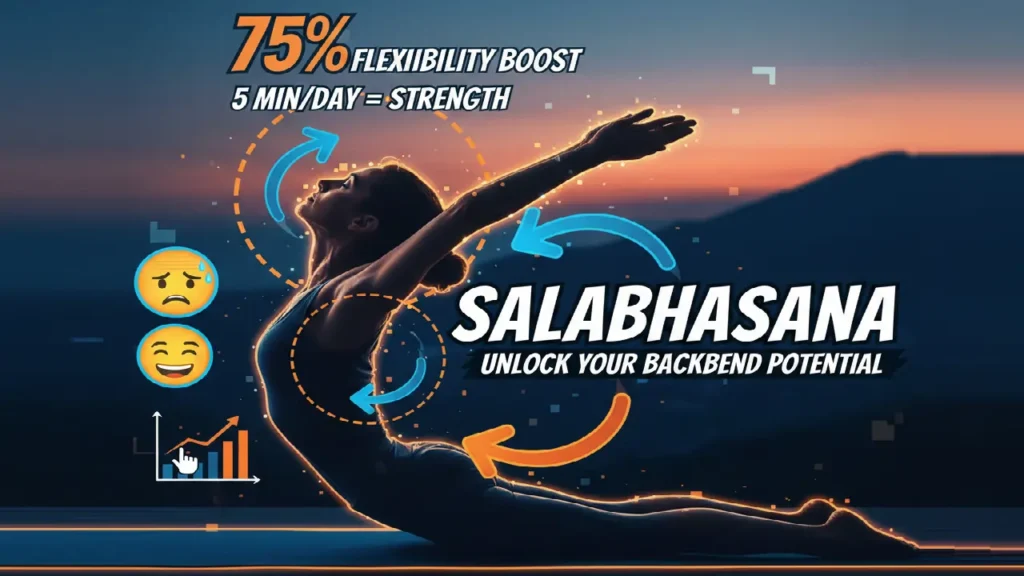
My Secret Salabhasana
I can still recall the first time when I tried Salabhasana (sha-la-BA-sa-na), or Locust Pose. My back was tight behind, my legs were heavy, and it was an uphill task to raise my chest. I was skeptical. What would this lowly, clumsy posture do to the persistent pang in my back? But I stuck with it. And I can truly tell it has been one of the most transformational poses of my whole yoga experience. It did not simply relieve my pain, but it gave me even more strength and inner strength.
In this paper, I would like to tell you precisely what I learned in my journey with the Locust Pose. I will dissect the reasons behind why it is so staggeringly effective, take you through my step-by-step approach to it personally, and discuss some of the variations that enabled me to develop. I intend to provide you with the same potent tools that eventually gave me a powerful back that is free of pain.
Why I Swear by Salabhasana: Not Your Backbend.
Most individuals and I used to believe that backbends only consist of bending backwards. More than Salabhasana. It is a full-body workout that helps to develop the groundwork strength and consistency. Locust Pose is an extension pose as opposed to the deeper backbends, which compress the spine. This is because it builds space, which is the actual secret of alleviating the pain in my back.
These are the particular advantages that I have been able to receive because I have made Salabhasana one of the routine practices:
Strengthened Lower Back: It is a dynamic motion to strengthen the whole posterior chain which includes the erector spinae, glutes and hamstrings. This forms a natural corset of muscle that helps you to bear your spine, relieving your lumbar discs.
Improved Posture Dramatically: This was a lifesaver for a person who sits at the desk. It actively opens my chest and shoulders, straightens the spine into a healthier position, by fighting against the hunkered-forward desk posture.
Strong Core Engagement: I was delighted to experience a light-up experience in my whole abdominal wall. The deep core muscles must contract violently to stabilize your torso to propel your limbs and chest. It is an excellent core exercise.
A Boosted Glute Complex: My buttocks were, well, asleep. Salabhasana woke them up. Good butt muscles are the ones that help a person have a stable pelvis and a healthy hip, and this pose is ideal.
An Energizing Lift: something about the pose itself seems to be uplifting. It opens the front of your body, your heart space, and your lungs. There is always a burst of energy and dissipation of mental fog when I simply hold it for a couple of breaths.
My Step-by-Step Guide to Mastering Salabhasana.
It was all about making the form right which made a difference to me. Trying to hurry resulted in frustration, whereas these steps one after another helped me to gain strength in a safe and effective way.
Step 1: Finding My Foundation
I begin lying on my mat on my stomach. I extend my legs straight backward as I lie on the floor with the tops of my feet on the floor. I lie with my arms beside my body with the palms down and my forehead slightly touching the mat. It is my beginning place of utter submission.
Step 2: Involving My Core and Glutes.
I engage my core before I even give any thought to lifting it. I naturally inhale my belly button towards my spine. Then, I squeeze my thigh muscles and squeeze my glutes. The secret sauce is this engagement – it helps to take care of my lower back and makes the lift powerful.
Step 3: The Ascent: Lifting with Control.
When I inhale, I start to lift my head, chest, arms, and legs against the floor at the same time. It is not the tallness, but the length. I suppose I am being drawn away on either side–my fingertips forward, and my toes backward.
Step 4: Finding My Alignment
I maintain a somewhat forward gaze, making sure my neck is a natural extension of my spine-no cranking. My arms are straight to the floor, and extended with their palms facing one another. I inhale and sustain the position of 3-5 breaths.
Step 5: The Gentle Descent
During an exhale, I get everything back to the mat in control. I make a break, spin my head over to the opposite side and experience the consequences to my next repeat.
Behaviors I Repeatedly Made (So You Will Not)
Neck Crunching: I would strain my neck to look up. I now hold my head low, and I concentrate on raising my sternum rather than raising my chin.
Holding My Breath: It can be an effort to clench and hold your breath. I consciously breathe ujjayi smoothly and deeply.
Lifting Too High: I have also discovered that a lower, longer lift by engaging in it is much better than a high one that jabs at my lower back.
Upgrading my Salabhasana Practice.
After the classic pose appeared stable, I started to experiment with variations that further challenged and added to the benefits.
Superman Pose: I put my arms straight over my head, as though I am flying. This changes the point of gravity and pushes my upper back further.
Alternating Locust: I put my right arm up and down and left leg up and down and vice versa. This further enhanced my coordination and stability of the core.
Clasped Hands Behind the Back: I place my fingers behind my sacrum and push my chest up, and the resistance of the resistance is used to open my shoulders and chest more vigorously.
My Last Reflections on this Transformative Pose.
Salabhasana stopped being a pose that I would fear and instead became an essential item in my wellness kit. It empowered me and brought awareness to rectify the unbalances that were hurting me. It is a modest position, yet its strength is unquestionable. Take your time, concentrate on the quality of the interaction and not the height of the lift and be patient with the body and have trust in the process. Thy back shalt repay it.