
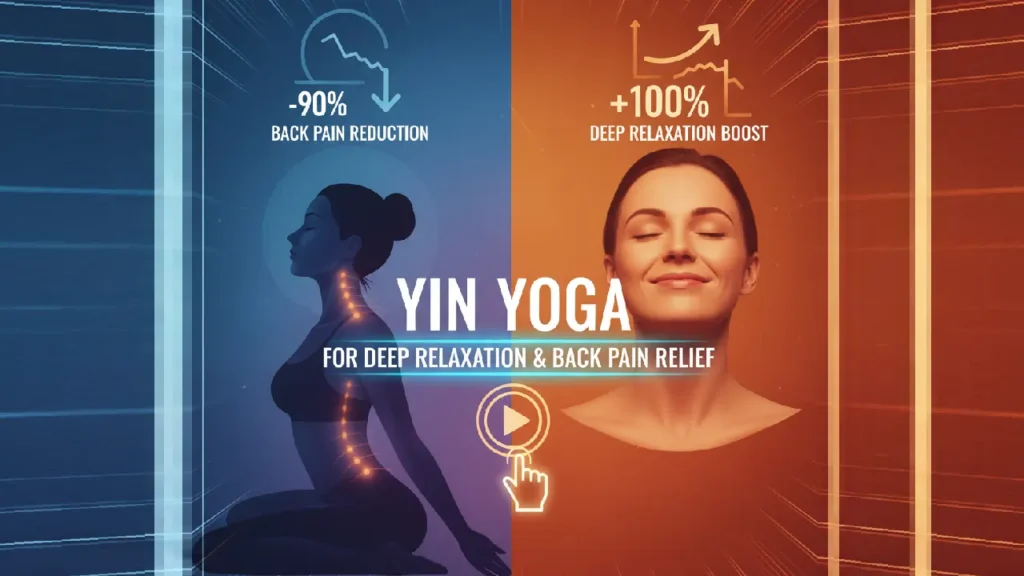
Yin yoga for deep relaxation back pain relief
My back pains have been like a thorn in the flesh. I did it all, chiropractors, analgesics, hysterical stretching. There was nothing that could provide lasting relief. Thereafter, I found that there was Yin yoga to relax the back pain. This was not the hot, sweaty yoga of which I was familiar. It was a silent revolution both to my body and mind. It showed me how to really surrender, and in that surrender, I discovered the secret to opening my tight, pain-filled back. And this mild exercise may be yours, too, should you be where I was.
What Is Yin Yoga? And Why Did It Work for Me?
The majority of fitness concerns our muscles, which are the yang tissues. Yin yoga is different. It works on our connective deep tissues: the fascia, ligaments, and joints of our spine, hips, and pelvis. It is in these places that they become hard, contracted, and produce that in-depth soreness.
I was taught that maintaining passive poses on the floor for several minutes is known as yin. This mild and gradual tension enables the thick connective tissues to release and rehydrate gradually. It is not about lengthening, but putting stress on the tissue in a therapeutic manner of reestablishing space and movement, particularly in the spine.
My top 3 Yin Yoga Poses to Relieve Back pain.
You don’t need to be flexible. All that is required is a place to sit and a few aids such as pillows or a folded blanket. The following are the poses that turned into my personal medicine.
1. Sphinx Pose (Salamba Bhujangasana).
This made my lower back change the game. It curves the back in a gentle manner, and it counters the sitting down pressure all day long.
How I do it:
Lying on your stomach with the legs stretched behind you.
Lean on your forearms, and your elbows right beneath the shoulders.
Belly, butt, and leg relaxation. Allow the lower back to work.
Close the eyes and inhale and hold 3-5 minutes.
Why it works: It forms a treatment arc in the lumbar spine, releasing the stress and enhancing the support structures.
2. Dragon Pose (Low Lunged Variation)
My back pains were primarily caused by my hips. They were opened easily by the dragon pose, releasing such tension in my lower back and sacrum.
How I do it:
Bring one foot forward between your hands, hands and knees.
Bend your back knee back till you experience light discomfort at the front of the hip and thigh.
I support my hands on the floor, blocks, or the knee in front, which is my front knee.
Remain here, breathing in any sensation, 2-4 minutes each side.
Why it works: It stretches the hip flexors and psoas muscle which are linked directly to the spine. These become tight, and as a result, they strain the lower back.
3. Supported Child Pose (Balasana).
It is my final pose of extreme relaxation. It is an oasis that leaves a gap between my spine and relaxes my whole nervous system.
How I do it:
Get down on your knees, lean backwards on your heels and bend.
I use a pillow or bolster that is placed between my thighs and torso that are stretched out to support my chest and head completely.
Keep your arms with palms facing up.
Hold all your weight and lose all of your weight about 4-5 minutes, concentrating on slow and relaxing breathing.
Why it works: It puts the spinal column in a mild traction, decreases the tension of the back muscles and prompts the relaxation reaction of the body.
The Mind-Body Magic: It is More Than Stretching Bodies.
The physical gains were unbelievable, and the transformation in the mind was equally strong. Sitting with discomfort is something that sitting with these taught me not to panic. I also got to know how to inhale into the narrow areas. This art of conscious submission:
Relaxes the Nervous System: The long holds will stimulate the parasympathetic system- the rest and digest mode. This is very important as stress and anxiety tend to increase physical pain.
Develops Body Awareness: I now realized how to distinguish between a good and a bad stretch as well as a painful one. This consciousness enabled me to take care of my back during the day.
Develops Emotional Strength: The mat practice reflects on the street. I also got improved in managing stressful circumstances without my back freezing over in reaction.
My To Live Advice on Your Yin Journey.
It is strange to begin with yin yoga. Here’s what I wish I’d known:
Find Your Edge: It is not necessary to push to your utmost. Keep moving until you can feel that something is important and stop. With the grip, the feeling will differ.
Accept Stillness: You mind shall cry to go. Conclude the perception, and move on to breath. The magic lies in the staying there.
Liberal Use of Props: Pillows, blankets, and blocks are not props. They are the keys that enable your body to relax without stress.
Take a Deep Breath: Your breath is your greatest weapon. Breath in to make room, Breath out to get rid of strain. It’s that simple.
Frequently Asked Questions (FAQs).
I’m not flexible at all. Can I still do yin yoga?
Absolutely! Actually, you are the ideal candidate. Yin yoga comes to you as you are. Your best friend will be props.
What are the frequency of the practice of back pain relief?
I began with only 10-15 minutes, 3 days a week. Consistency is much more significant than time. Even a daily practice, which is not very long in duration, can bring about radical changes.
Is it not supposed to be uncomfortable?
Things should hurt you deeply, not mustingly, sharply or shooting. Learn to listen to your body. The pain ought to reduce on breathing and maintaining the pose.
Your Way to a Noisier Back Starts Here.
My experience with deep relaxation of the yin yoga to relieve back pain has changed my perception of my body. It restored in me a sense of control and, more importantly, peace. Your sore, constricted back begs to be given room and rest. You can put that precisely on your mat, by your breath as your guide. You only need to get one easy pose to go in the direction of a more relaxed and calmer back.