
My Journey with the Doggy Yoga Pose
Frankly speaking, I did not see the doggy yoga pose in a peaceful studio first. It was on the floor of my living room, and my real dog, Baxter, was staring at me as though I had left the plot. He was likely contemplating why his man was now imitating his morning stretch. However, what began as an inquisitive experiment turned out to be the foundation of my everyday life.
This easy posture, technically referred to as Downward-Facing Dog or Adho Mukha Svanasana, gave more benefit to my aching shoulders and my overheated nerves than I had ever dreamed. In this paper, I would like to take you through all that I have learned about this foundational move. We shall plunge into its unexpected advantages, deconstruct precisely how to approach it without undue effort, and consider how a case study showed it to be powerful.
There should be no need to be intimidated with yoga jargon, this is the time to seek a moment of rest and power, one “doggy” at a time.
Just what is the Doggy Yoga Pose?
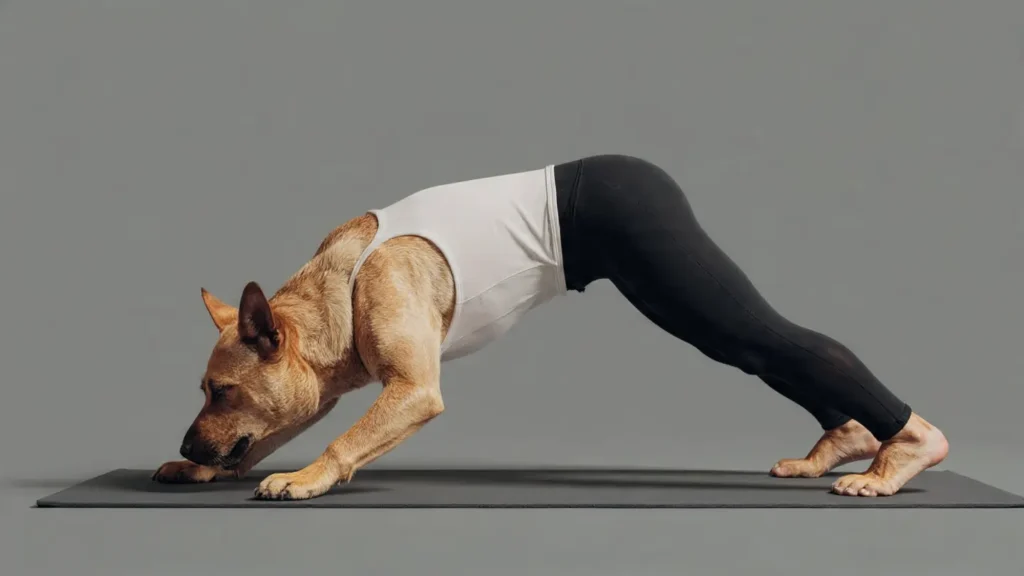
A small section of my mind visualized the people barking on mats when I first heard the name of the pose, doggy yoga. The truth of the matter is much more dignified. It is the yoga pose, Downward-Facing Dog. It is named after the Sanskrit Adho Mukha Svanasana meaning downward-facing dog posture. It is one of the most famous poses in the world not without a reason. You will most likely find yourself going through this pose a thousand times in an average vinyasa flow, so it could be considered a real workhorse of any practice.
The adorableness of the doggy yoga pose is that the pose is an integration of the whole body. It is not merely an extension, but a warm inversion, a strength-giver, and a relaxing experience in one. As I get into it I can feel like it is stretching out of the end of my fingertips down to my heels. It involves your arms, shoulders, core and legs at the same time.
Visualize it not as a rigid position, but as a dynamic, invigorating form, which you make with your body. It is the forward bends that continue to pay over and over and knowing the mechanics was the initial move on the way of my transformation as a stiff beginner to a person who genuinely desires that complete, full body discharge.
The Reason You Will Love This Pose: The Pros Are Not a Myth.
It was not only that I felt better after adding the doggy yoga pose to my life; I began to research what the science was about, and discovered the benefits of it were many.
Total Body Stretch: The first effect is the most immediate one that I noticed. The posture gives your hamstrings, calves and Achilles tendons a good stretch. It also spreads your shoulders, chest and the whole length of your spine. This was a revelation to me who sometimes sits in hours with a keyboard on his lap to help ease the upper-back strain.
Develops Functional Strength: Do not be deceived by the appearance. Downward Dog is a serious pose that should be held. Your upper body is held by your arm and shoulder muscles, your core muscles spring into action to maintain your torso, and your leg muscles are active to push your hips in. It is a simple yet efficient strength training.
Stimulates the Circulation and Energy: Since your heart is over your head, this mild reversal turns the blood flow. This leaves me always feeling fresh and alert and it is the best morning routine or a midday energy boost rather than taking another cup of coffee.
Calms the Mind: It is something with the rhythm breathing and the inverted posture that just seems to have a calming effect on the nervous system. During the days when my anxiety begins to set in, a couple of long and deep breathing exercises in my doggy yoga pose can dramatically turn down the volume in my head.
Flexibility Case Study: Seeing is Believing.
I can discuss my own experience the whole day, but I was really convinced, when I observed the figures in the case study, which is small, but revealing. In the 2018 pilot study of the International Journal of Yoga, the investigators maintained a study group of 20 sedentary adults who were reported to have hamstring tightness. They attended eight weeks of a beginner level yoga program that intensive involved the doggy yoga pose (Downward-Facing Dog).
The outcomes were difficult to disregard. Researchers measured an average of 3.2 inches improvement in hamstring flexibility in the entire group statistically significant after the eight-week period with the help of a standard sit-and-reach test. One huge profit in such a brief period! Moreover, the subjects had a reduction in perceived back pain and everyday stress.
This mini-study reflects precisely what occurred with me. My hamstrings were well-known and could not be easily bent even to tie my shoes. Six weeks of daily practice did allow me to reach my toes eventually–a little triumph that seemed so huge. It was shown that this pose which can be manipulated is concrete and provides physical outcomes.
The Ultimate Guide to the best Doggy Yoga Pose, Step-by-Step.
It is important to get into the pose properly in order not to get injured; not to start enjoying the pros of the pose. This is the step-by-step process that eventually enabled me to get it.
Begin All Fours: Place your hands and knees in a tabletop position. You have to place your legs in the position below your shoulders and your hips respectively.
Set Your Hands: Me means to open up your fingers like a starfish and push them through between your knuckles and fingertips. This scattering off the weight supports your wrists.
Tuck Your Toes and Lift: With the breath out, tuck your toes under and lift your knees off the floor.
Lift Your Hips: Press through your hands and strongly lift your hips up and back, towards the ceiling. And you need not mind so much whether your heels are in the air–mine used to be weeks!
Lengthen Your Spine: Imagine that you are making space between your shoulders and ears. Your upper arms should be on a position in line with your ears. Turn back towards your legs or your belly button.
Use Your Legs: Press the thighs actively and, at the same time, attempt to take your heels closer to the floor. It’s okay if they don’t touch!
Breath: Suspend between 5-10 deep breaths. At every breath, can you get a trifle more of length?
My Biggest “Aha!” Moment: Once I was told by a teacher that the idea is not to have your heels in contact with the ground; you want to have your chest down to your thighs. This made me stop focusing on my tight hamstrings and instead on stretching my torso, and this entirely changed the pose to me.
Mistakes that are common with me (So You Don’t Have To).
Everyone makes mistakes, particularly during the beginning. These are the large ones of which I came into difficulties, so you may avoid them.
Rounding the Upper Back: I did the same time and this strained my shoulders. The fix? Concentrate on pressing the floor back and pulling your chest towards your thighs so as to form a long, flat back.
Locking My Elbows: This is a fast exercise of working off your arms. Rather, maintain a micro-bend on your elbows and work on the muscles that surround it.
Letting My Feet Incorrectly: My feet would respond by splaying to the side. Practice in keeping them as hip-wide as possible and so parallel to one another, as the headlights on an automobile.
Rushing the Breath: I would have been holding my breath, until the pose was completed. It is the magic that occurs when you move with your breath. Breath in to be ready and breath in to raise to the pose.
Make it Work to Your Benefit: Great Modifications.
Yoga is all bodily and nothing to have any props would be to cheat. This is how I applied changes when I was beginning.
In the Tight hamstring cases: bend your knees! This is the first tip, and it is serious. It takes a generous bend, one of the knees, and focusing on stretching your spine, but not putting much strain on your legs.
To relieve Wrist Discomfort: Do the pose using your fists and make sure that the knuckles are facing down making the wrists remain in neutral position. You can also use yoga wedges.
To Get More Supporting: Have a block under the hands. This lifts the upper body and may simplify the process of locating length, particularly in case of very tight shoulders.
The Variations to Have Fun: Beyond the Basics.
When you are happy in your usual doggy pose in yoga, it is time to have a few variations to play around.
Pedal Your Feet: With a gentle motion, bend one knee, pushing the other heel on the floor, and repeat with the other knee. This is an excellent dynamic stretching of the calves and hamstrings.
Three-Legged Dog: This is a variant of Downward Dog, but raise your right leg as high up as you can to the ceiling. Maintain your hips in a level squared position to the ground. This creates unbelievable hip and glute strength.
Frequently Asked Questions (FAQs)
Q: How long do you want to keep the doggy yoga?
A: Beginning with deep breathing (starting with 3-5 deep breaths or close to 15-30 seconds) is recommended as a beginner. When you become stronger you can practice to hold it a minute or longer. Listen to your body!
Q: I experience intense pain in my wrists. What should I do?
A: Stop immediately. Sorrow gives a signal to your body, sharp pain. Apply the changes that I have described above, such as working on your fists or on a wedge, and use the advice of a yoga teacher or physical therapist to adjust your posture.
Q: why can I not get my heels to the floor?
A: This is nearly always tight hamstrings or calf muscles, and it is so widespread! Please don’t force it. Pay attention to bending your knees and straightening your spine. As you continue practicing, you will automatically lower your heels with time as in my case.
Q: Should a pregnant woman do the doggy pose of yoga?
A: It can, particularly during the first and second trimester, because it prevents the lower back pressure. But never leave without the advice of your physician and a prenatal yoga teacher on what best practices your body.
Q: Does this pose assist in the back pain?
A: Yes, for many people, it can. It can be very helpful by decompressing the spine and tightening back and core muscles. Nevertheless, it is best to consult your doctor or physical therapist beforehand in case you have a certain back condition.
Final Thoughts from My Mat
It has been a patient process as I struggled through with my relationship with the doggy yoga pose with small triumphs. It helped me to learn that some of the most fundamental practices are the most significant. No, it is not about trying to get the perfect post on Instagram, but it is about presenting yourself in front of your mat, deeply breathing, and providing your body and mind with much-needed attention.
Roll out your mat, then, and do not care what you look like, and give it a go. It will pay off in your inward pup (and in your future less-ached self).