
Unlock Your Spine: The Life-changing Setu Bandha Sarvangasana
I can always tell when my lower back is aching too much because of sitting or my shoulders being contracted by stress, because I need to roll out my mat and go into Setu Bandha Sarvangasana, or Bridge Pose. This was not always the case; for years, I underestimated this simple backbend, as I ran into more impressive poses.
It turned out that only after slowing down, I learned the great strength of this basic asana. In this paper, I will discuss my experience and lead you through the process of making this pose a mainstay of your practice, and provide a special mix of strength, tranquility, and vigor.
What is Setu Bandha Sarvangasana?
We may dissect the lovely name Sanskrit. Setu is bridge, Bandha is lock and Sarvangasana means all-limb pose. In literal sense, therefore, it is the Bridge Lock Pose to the entire body. In this posture as the name implies you create a bridge like structure with your spine using almost all of your body as a whole.
Physiologically, it is a supine backbend that is the chest opener, spine strengthener and mild inversion. However, to me it is so much more. It is an inspiring meditation that connects the disconnection between a stressful day and a relaxing one, between physical pain and comfort.
Why I Create Time to Bridge Pose: Best Things It Does.
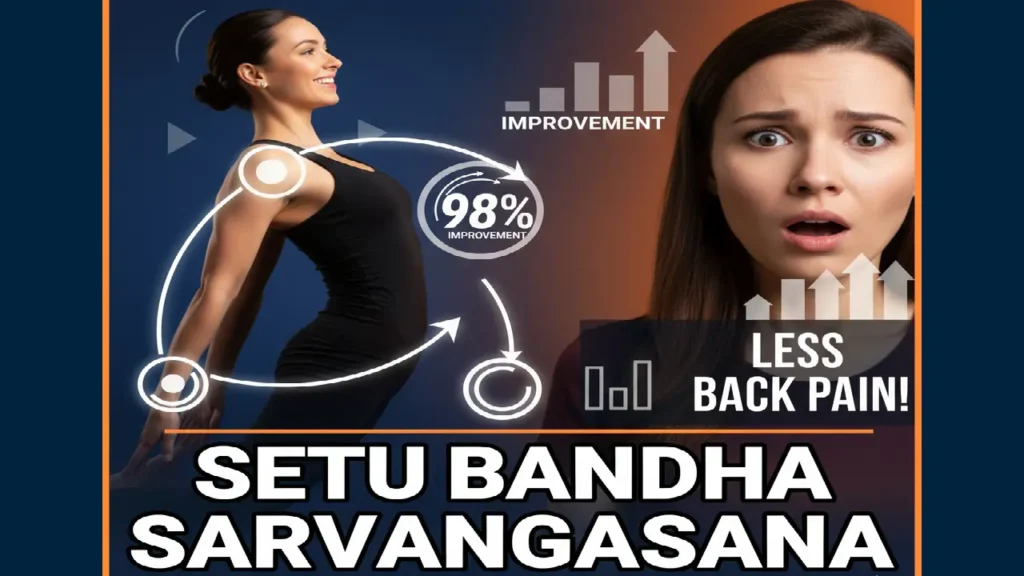
The daily Setu Bandhasana that I do has bestowed upon me innumerable advantages that have continued drawing me to my mat. These transitions that I have gone through have not been only physical; but also every part of my being.
Categories of benefits Major lessons.
Physical Strength & Flexibility Strengthens back, buttocks, hamstrings; stretches chest, hips, spine; strengthens posture.
Mental Emotional Well-being Calms the nervous system; decreases stress levels; relieves mild depression.
Therapeutic & Systemic Health Stimulates digestion; lungs, thyroid; alleviates menopause; fatigue, insomnia.
In addition to these, the other important advantage to me has been the refreshing of my weary legs at the end of a lengthy day. The soft lift inverts the blood flow providing some lightness. In addition, this posture has made me feel more vigorous and less breathless and my breathing strength has increased significantly since I have opened my chest and inhaled deeper when performing this great pose.
My Step by Step Guide to a Perfect Bridge Pose.
The procedure that I take step by step to support the idea of getting the best out of my Bridge Pose without injuring myself is given here.
Initial Position: I am on my back on my yoga mat with my knees bent and my feet flat to the ground. I ensure that my feet are no less than 6 inches apart and the heel is as near to the sitting bones as it can be. My hands are placed next to my body with the palms down.
Preparation: I lean hard with my feet (inside) and the arms. When I breathe, I start the lifting motion out of my tailbone, and I lift it towards the ceiling. I raise my hips, lower, middle and lastly upper back off the mat.
Locating the Shape: I use my shoulders under my body, one at a time, and then I can choose to cross my fingers together with the pinkie fingers, pushing them into the mat in order to expand my chest even more. I make my thighs straight to one another and my knees directly over my heels. I do not allow my knees to stick out on both sides.
Posing: I maintain a straight posture looking straight at the ceiling and keeping my neck in its natural position without forcing it into the mat. I stay in the position between 5 and 10 deep breaths, experiencing the opening of my ribcage with every breath.
Leaving Safely: On exhaling I gradually unclasped my hands (when clenched) and lower my spine one vertebra at a time by the back of my body, starting with my upper back all the way to my tailbone. Then I pause to give my knees a hug in order to relieve the situation in my lower back.
Outside the Box: My Preferred Classifications and Adoptions.
Setu Bandhasana is also one of my favorite things because it is versatile. I am able to adjust it to my needs on that particular day depending on the feeling of my body.
On the days when I require deep relaxation, I do Supported Bridge Pose. I just put a yoga block on its lowest or medium level under my sacrum (the flat triangular bone at the bottom of my spine) and I just allow my body to rest in its entirety. It is a fancy method of opening the chest and soothing the head.
To be More Challenging: One-Legged Bridge Variation When I am in need of greater intensity, I attempt the One-Legged Bridge Variation. In the entire pose, I put the weight on my legs, elevating one leg directly up to the ceiling, the thighs being parallel. This difference requires additional requirements of my core and supporting leg.
In my tight shoulders: When I find the tightness in my shoulders when I attempt to clasp my hands I just make sure that my palm remains firmly stuck to the mat or instead I use the edges of my yoga mat which also helps to achieve the same effect of a wonderful chest opening without the stress.
Important Lessons and Warnings of my Practice.
Based on my personal experience, I would like to give you several main tips on how to practice safely.
Listen to Your Neck: Do not twist your body side to side in the pose, and do not lean the back of your neck on the mat. This is aimed at preserving its natural curve.
Engage Your Legs: When you actively pull the thighs of your body towards each other, it helps avoid the knees splaying out and also on your lower back. A block between the thighs may be a wonderful feedback aid.
Know When to Shy Away: I have realized that you should not do this pose when there is already an existing neck or shoulder injury. Even people with more severe back problems such as a slipped disc or an abdominal hernia, should avoid it, and so should pregnant women unless they take a very mild, supported version under supervision.